How to Fix Sticky Louis Vuitton Lining
Is the lining in your Louis Vuitton bag breaking down and becoming sticky? Do not worry, this is common in vintage styles. Follow our DIY guide, so you do not have to pay the costly fee to get it replaced by Louis Vuitton.
It is possible to fix Vuittonite lining at home. To help you save money (and your beloved Louis Vuitton bag), we have detailed the DIY process. Follow our steps on how to clean the inside of a Louis Vuitton bag.
Prior to 1997, Louis Vuitton lined many of its bags with a vinyl-like material known as Vuittonite. It was used (and patented) by Louis Vuitton because its resistance to water makes it easy to clean. Unfortunately, when exposed to high heat or humidity, Vuittonite begins to deteriorate and peel away from the edges of the bag. Over time, it becomes increasingly sticky, forming a residue (which, in extreme cases, is black in color) that transfers to anything placed inside the bag. While this is most common in interior and exterior pockets (see: Jeune Fille, Trocadero, Danube, and Saint Cloud), it can affect the entire bag (see: Bucket, Compiegne, and Cosmetic Pouch).
Though Louis Vuitton no longer lines its bags with Vuittonite, it does not recognize the material as a manufacturing defect. If you bring a vintage bag with peeling and sticky Vuittonite to Louis Vuitton for repair, it will not cover the cost. To re-line it, Louis Vuitton will often charge more than the resale price of the bag. Depending on the value of the bag (both financial and sentimental), re-lining it at Louis Vuitton may not be the most cost-effective solution.
Luckily, it is possible to fix Vuittonite lining at home. To help you save money (and your beloved Louis Vuitton bag), we have detailed the DIY process. Follow our steps on how to clean the inside of a Louis Vuitton bag.
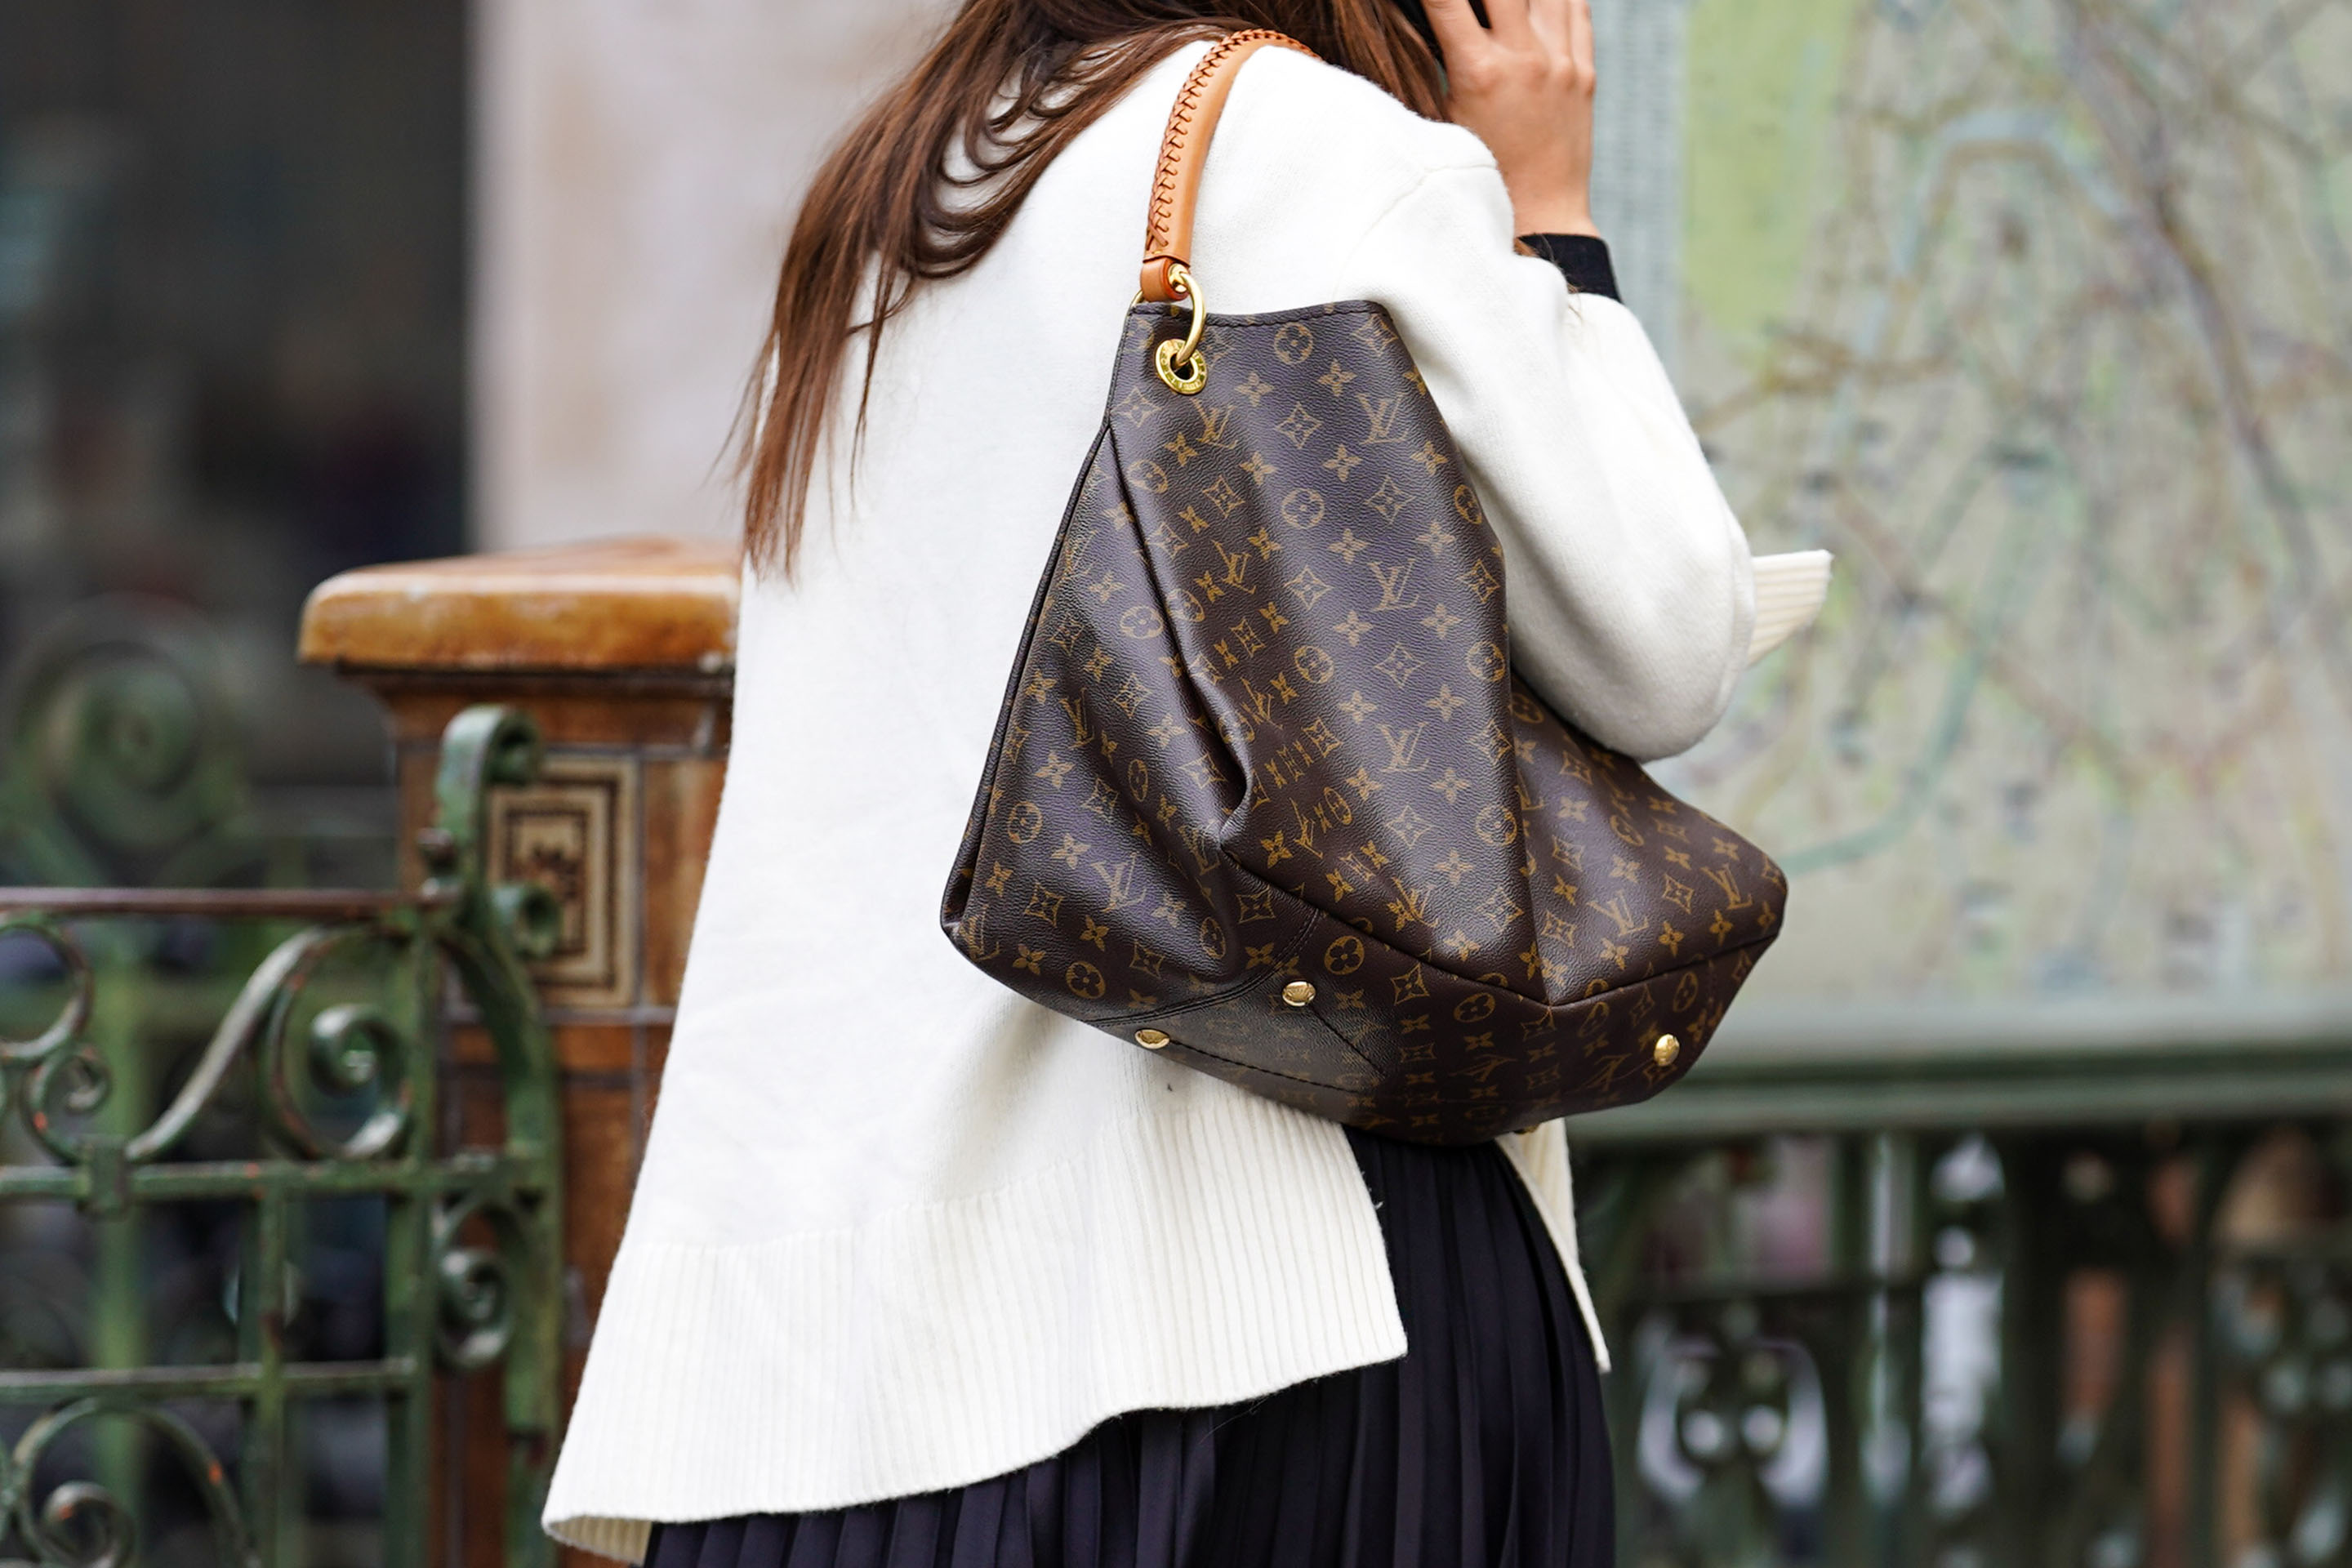
Photo by Christian Vierig/Getty Images
Photo by Christian Vierig/Getty Images
Step 1: Assess the Severity of the Peeling and Stickiness
There are many different ways to repair peeling and sticky Vuittonite. Before you begin, assess the lining to determine which is best for your bag.
If it is just starting to peel, a little bit of talcum powder might be all it needs. Sprinkle the powder on the sticky parts of the lining. Not only will it leave them soft to the touch, but it will also absorb any moisture, preventing the peeling and stickiness from spreading. However, this is only a short-term fix. You will have to re-apply it periodically, which will create a powdery build-up.
If it has peeled so much that a sticky, black gunk comes off on everything that touches it (including your hands), the lining will need to be removed altogether. Though this is a much more extreme response, it is not difficult to do. By applying either Goo Gone or acetone nail polish remover, the Vuittonite lining will dissolve entirely, leaving you with just the fabric that is underneath. Because this fabric is not water or stain resistant and the process takes a considerable amount of time, you should only resort to this method if the lining has become so sticky that the bag is no longer usable. Careful to avoid all hardware elements, apply your preferred solution to a cotton pad and dab the lining. The Vuittonite will start to lift up, making it easy for you to pull it off in large pieces with your hands or tweezers. As this process is quite messy, remember to wear gloves.
If the lining on your bag is somewhere between these two stages, it is best to paint over it. As this method preserves the integrity of the lining, we recommend it over all others and have specified it.
Photo by Edward Berthelot Getty Images
Step 2: Gather the Necessary Materials
To paint over the lining of a Louis Vuitton bag, you need:
- saddle soap,
- two or more clean cloths,
- plastic,
- masking tape,
- a plastic plate
- a foam brush,
- fabric and vinyl spray paint in a light tan or gold color (preferably, Rust-Oleum in Sand),
- alcohol-free baby wipes, and
- non-acetone nail polish remover.
Photo by Christian Vierig/Getty Images
Step 3: Remove the Sticky Residue from the Monogram Canvas
If your bag is a style that has an exterior slip pocket (see: Blois), the sticky lining will have come in contact with the Monogram Canvas, passing residue onto it. Before you paint the lining, you need to clean the Monogram Canvas.
First, wet the Monogram Canvas with a clean, damp cloth. Then, with a clean, dry cloth, apply saddle soap in a clockwise motion. Not only for horse saddles, saddle soap works on all leather products, releasing stubborn debris and giving the leather a deep clean, while simultaneously moisturizing and preserving it.
When the cloth becomes too soiled to work with, use a new one. You may need several. Continue applying the saddle soap until all the sticky residue has come off the Monogram Canvas.
This step requires the most time. Be patient! With a little elbow grease, you will be able to remove all the sticky residue, leaving the canvas soft and clean.
Photo by Edward Berthelot/Getty Images
Step 4: Protect the Monogram Canvas from the Paint
Now that the Monogram Canvas looks like-new, you need to protect it. Tape plastic wrap over it, so you do not accidentally get any paint on it.
Do not skip this step! Even if you are not painting an exterior slip pocket, it is still necessary.
Cover the body of the bag with the plastic, shielding both its hardware and Monogram Canvas. This way, you can paint carefree.
Photo by Christian Vierig/Getty Images
Step 5: Paint the Lining
Once you have completed all of the preparation, it is finally time to start painting. As the paint fumes are strong, move outside or to a well-ventilated space.
Spray the paint onto the plastic plate, dip your foam brush in it, and start painting the lining or inside of the pocket. If you cannot find the paint in a spray can, it also comes in a tube with a sponge applicator. Though, we advise against using this because the tube is bulky and the amount of paint is much harder to control. With a foam brush, you can easily work within the tight confines of the bag and ensure an even application.
Do not spray the paint directly from the can! If you do, you risk accidentally painting the bag’s hardware, Vachetta, and Monogram Canvas.
If paint gets on the bag’s hardware or Vachetta, use the alcohol-free baby wipes to gently clean it off; if paint gets on the Monogram Canvas, use non-acetone nail polish remover to lightly dab it away (acetone will remove the ‘LV’ monogram too!).
Photo by Christian Vierig/Getty Images
Step 6: Allow the Paint to Dry Completely
Be sure to paint one section of the lining or pocket at a time, preventing it from sticking together.
Let each section dry completely before continuing with the next. It can take anywhere from one to six hours.
Photo by Christian Vierig/Getty Images
Step 7: Air Out the Bag
When you are done, the bag will smell of paint. Place the bag in a shaded area to let it air out. Do not place it in the sun, as this will darken its Vachetta and fade its Monogram Canvas. Within a day or two, the smell will diminish, and the lining and pockets will be usable.
Photo by Jeremy Moeller/Getty Images
Authenticity Advisory
As you decide which repair method is best for your bag, consider the placement of its date code. Dissolving or painting over the Vuittonite, you risk removing it. If you plan to resell the bag in the future, this will make it difficult to prove its authenticity. In fact, many will not purchase a Louis Vuitton bag that has been repaired by anyone other than the house itself.
Proceed at your own discretion.
Photo by Christian Vierig/Getty Images